Saturday, December 29, 2018

Math Centers in My Room

I'm a firm believer in the power of independent math centers and a teacher-led small group - as long as the students are actually working, of course! There's the question of grading math centers (more accountability for students, but more work for teachers) or allowing them to grade (do they cheat??) or requiring nothing to be turned in at all (ikes!). I have tried to find a happy medium in my room that allows flexibility, accountability, and as little extra work for me as possible.


At the end of this post, you'll find a link to an Excel spreadsheet that I use for planning. I've set it up to be printed if you want to, but I never print it. It's a document I pull up on my computer & edit as I'm holding small group (taking attendance, making notes about skills needing to be revisited) and then I save it to our network for my administrators. On my regular plans, I note whether we held centers that day or if we did something different - whole class computer lab, graded assignment, extra lesson time, etc.

My Schedule

Everyone's math block looks a little different. Mine is 90 minutes (give or take). I have the students do their Daily Review and XtraMath (to practice fact fluency - it's free!) for about 15 minutes. We then review the Daily Math and move into our lesson (about 40 minutes). The rest of the class time is for centers or an assignment.

The reality of teaching is that we have to take grades. The last two weeks before Thanksgivings, I tried putting a graded assignment into my center rotation and it was a nightmare. I had no idea who had completed it (who needed extra time per their 504 or IEP), who was absent (since it was done over a 5 day period), and the kids that did it on the first day didn't get any sort of feedback for about a week. It didn't work.

And the stress on me to make sure we finished the lesson with enough time for students to complete their centers - one of which was a graded assignment??!?! Let's not even go there! After those two weeks, I gave up and didn't even try to attempt it between Thanksgiving & Christmas. (Getting really sick for over a week didn't help me teach at all either...)

In January, I'm going back to the schedule I put into place three years ago when my son broke his leg. I missed 1-3 days of school each week over an 8 week period. At that time, it was impossible to leave centers for a sub (can we spell play time???). Instead, I made up a rotation and if we got to centers that day - great! If not, no big deal. We'll do the next day's centers when we got to it. This allowed me to extend a lesson if I needed to and skip centers; all students did assignments on the same day; and if I had a sub, I didn't panic about trying to write up what each center was supposed to be doing. Not to mention, it didn't phase me when we had a 4 day work week, a field trip, or a random assembly. No centers? No problem!

It works for me. Will it work for every teacher? Probably not. We're all different. For me, though, I needed less stress and taking away the requirement that I get to centers every day for x number of minutes was what I needed!

Planning Centers

When planning centers, I keep it as simple as possible. There's the teacher-led small group, a computer station, and seat work.

Teacher-Led Small Group: I use data to determine what skills my students need to work on. Then, I'll either group students using that data or pull whatever students I need that day from their center. Either way works as long as you're not taking actual grades on the centers. For the curriculum, I may invent my own from time-to-time, but more often I'll use the reteach lessons in my textbook or the lessons our computer software gives us (iReady is the software we use). Slight changes are always needed, of course, but it gives me a starting point without reinventing the wheel. Students keep all work we do in their Math notebooks. Sometimes, I'll assign a homework sheet from CommonCoreSheets and then pull those students to review the work the next center day before I pull my small group for that day. (That website is amazing, by the way. It's completely free and has worksheets for pretty much every Common Core math standard. And, each worksheet has about 10 different variations. So, if a kid struggles on the assignment, reteach it and reassess it using a different worksheet. Oh, and the worksheets are designed so that you can lay them out about and grade about a half dozen at a time. MAJOR time saver!)

Computer Station: My students work on a computer program called iReady. They have their user names & passwords in their notebooks (or memorized) and log in by themselves. They record their work & test scores in their notebooks. When they come to small group, I do a quick check in with them to see if there is anything they're struggling with. If so, I can do a mini-lesson there or pull them when I finish with the small group. We also have an incentive system built around iReady so that they're rewarded after they pass so many lessons.

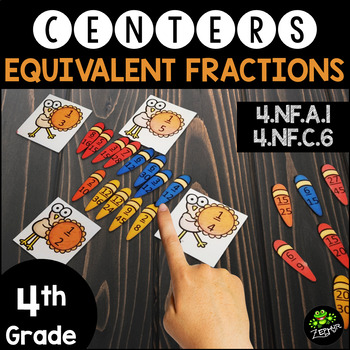
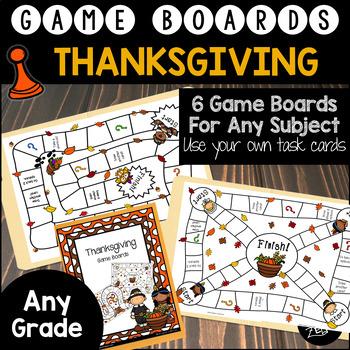
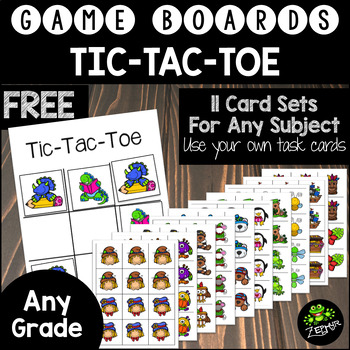
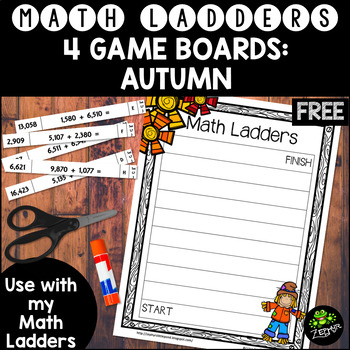
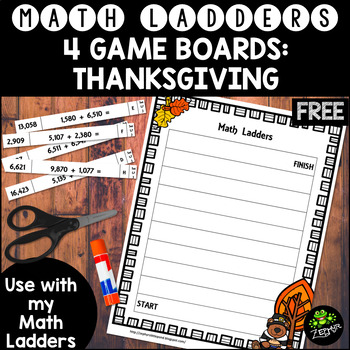
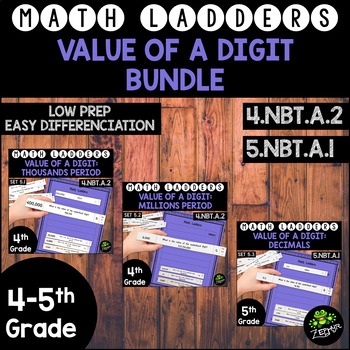
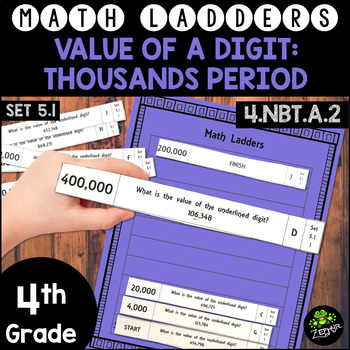
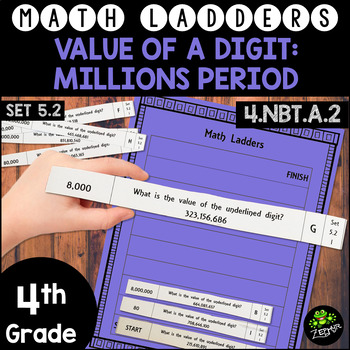
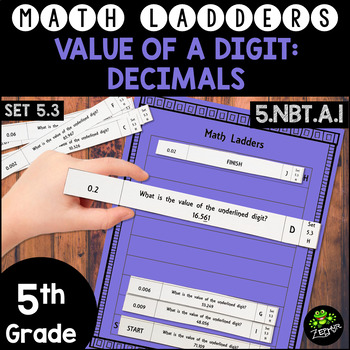
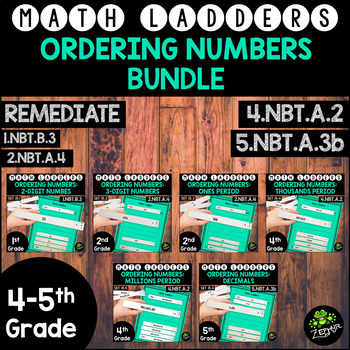
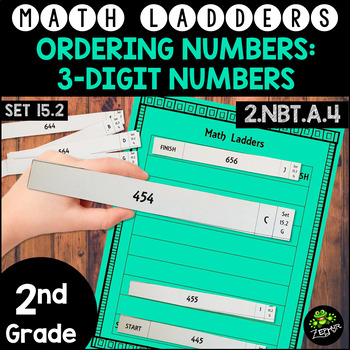
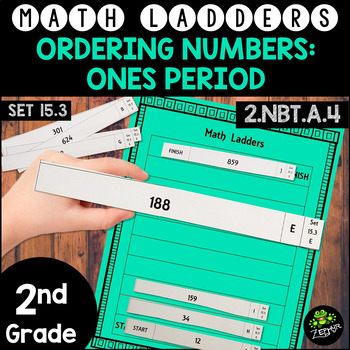
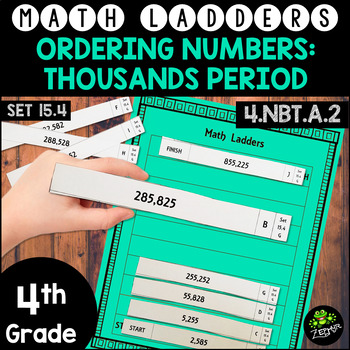
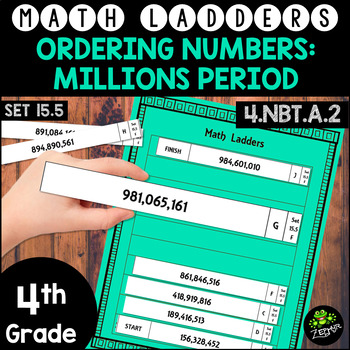
Seat Work: My seat work stations are always something familiar so that there is no learning curve. I like to use Math Ladders or Games that use Task Cards. Once I teach students how to do these centers, I switch out the skill. They're then constantly changing the skill being practiced, but not learning how to play a new game. I find this to be a lot more beneficial than the store-bought games that focus on one skill (or a bunch of random skills, including ones I haven't taught). The store-bought games require me to spend a lot more money and the kids spend more of their center time reading the directions rather than playing the game. If I do happen to throw a game in that's not a regular (my Go Fish games are popular), then I try to keep it for at least two weeks so they can learn the style of game and then have real practice time with it.

Grading Centers

I've gone between everything from grading all centers, choose a center to grade, and grading none. The challenge I have with grading centers is what to do when students are absent or pulled for small group instruction. Make up work is not possible because we change classes. There is literally no extra time in my students' days for make up work.

This year, I'm having students keep their work in their Math Notebooks. If I know of a student that is chronically off task, I can conference with him/her about the math work when I finish early with a small group. I've also put the students in groups and am awarding points to each group when I see them on task or deducting points when they're off task. Fourth graders are very competitive and these points equal tickets to them to use in our book raffle. (See my other post about the book raffle for a cheap incentive for students!)


Free Download

Click the picture below to download my Excel Planning file from my Google Drive.


Saturday, December 8, 2018

Christmas Gifts for Co-Workers

I always want to give my co-workers a little something at this time of year, but both time and money are tight - as is true for a lot of teachers. I've come up with a few solutions over the years that my teammates love and even look forward to.

Fudge - hands down, a favorite of theirs (and it's gluten free). I've heard that fudge can be difficult, but Kraft's Fantasy Fudge recipe has yet to fail me. My little secret? Double the recipe & pour it into a 9x13 foil-lined pan. The fudge turns out roughly an inch thick. I cut it into 24 squares and give each person two huge pieces of fudge that look like they came straight from an over-priced candy shop on Main Street USA. ºoº

Kraft's Recipe (Already Doubled For Your Convienence)
6 cups white sugar
1 1/2 cups butter (3 sticks - softened or not...doesn't really matter)
1 1/3 cups evaporated milk (I just use 2 small cans. Do NOT use sweetened condensed milk.)
24 oz of "fun stuff"* - more on this later
2 (7 oz) jars of marshmallow cream
1 cup chopped walnuts (I always omit these since some people - ME! - don't like nuts in their fudge.)
2 tsp vanilla extract**
festive sprinkles

Line a 9x13 pan with foil making sure to really press it into the corners. This will ensure that the corner pieces look decent and can be used for gifting. (Or you can plan on cutting a bit off all the way around and "testing" your fudge to make sure it's good to gift!)

Mix sugar, butter, and evaporated milk in a large, heavy saucepan over medium heat, stirring constantly. Bring to a full boil. Boil for 3 more minutes while stirring constantly. This is crucial. You must boil the full amount of time. As I start to think mine is boiling, I glance at the clock. Usually, it takes another 45 seconds or so to really get boiling. So, I probably boil mine for 3-4 minutes. Allrecipes.com says 5 minutes....haven't tried that, but as long as you're stirring constantly it should be fine.

Remove pan from heat & stir in the "fun stuff"* and marshmallow cream until everything is melted and smooth. (If using a chip, stir a little extra to really make sure they've all melted. One year I didn't...I had tiny bits of chocolate chips in my fudge. Co-workers actually loved that batch...) Add the vanilla extract last.

Pour into the foiled pan and immediately add some sprinkles to make it look festive. Let it cool completely. Then, lift the whole pieces of foil out of the pan, set it on a large, flat surface, and cut it into 24 huge squares with a pizza slicer. Wrap in plastic wrap and tie 2 together with a nice bit of ribbon.

*The "Fun Stuff"....Kraft says to use chocolate chips. Two 12 oz bags will do it. I say...mix it up! One of my best recipes uses peanut butter. I replace the chocolate chips with about 3 cups of peanut butter. The only thing to be careful of here is that chocolate chips are hard and peanut butter is very gooey - which is why I don't put in 4 cups. This fudge will turn out softer than regular fudge, but it's my favorite!

*Fun Stuff to Try: any type of chip (chocolate, butterscotch, white chocolate, etc.); 3 cups of peanut butter; white chocolate chips with a couple of tablespoons of ginger (gingerbread fudge); white chocolate chips with peppermint extract (replaces the vanilla) & crushed candy canes. I also like to do a regular batch of peanut butter fudge and then add a thin layer of chocolate fudge on top. The possibilities are endless!

**Vanilla extract can be replaced with any type of extract. I like to mix it up with peppermint and make candy-cane fudge for at least one batch each Christmas. Hmmm....I wonder how orange or raspberry extract would go with chocolate....


Sugar Scrub - I needed this for a diabetic co-workers. My fudge was definitely out. But, we both got to enjoy this scrub since it made so much!

Mix together: a good coconut oil & white sugar. I started with about 1 cup of sugar and then added tablespoons of coconut oil until I got the texture I wanted. Add a couple drops of essential oil. I used lavender...what teacher doesn't need to relax right around Christmas with our high-stakes tests right around the corner??

Dollar Tree had small jars I put the scrub in and then dropped it into a nice little gift bag. Done!! And, these could be done over Thanksgiving break giving you a head start on your gifts.


Dry Rubs - My hubby LOVES his grill and cooking out for us - we live in FL where we can use the grill almost year-round - and some of these dry rubs are our favorites. They would make a nice gift for the man on your team that isn't into sweets or girlie-bath stuff. Scroll down her page just a few inches to find a visual recipe graphic you can save to your hard drive.  10 Dry Rub Recipes to Up Your Barbecue Game


Saturday, November 24, 2018

Inexpensive Christmas Gift for Students - Extra Credit!

Christmas Extra Credit CardsAt my school, our fourth grade is departmentalized...which means I have 100+ students. I love being able to focus on just a couple of subjects, but when it comes to Christmastime - my favorite time of the year - my heart wants to give each student a little something,....but my bank account (and husband) balk at the idea of how much I would have to spend. So, I had to come up with an alternative.

All students love extra credit. So, I created these little guys to print out for my students. It's easy, inexpensive, and they love it. I like to print on card stock (in color) and then slip them into cards from the Dollar Tree. (In 2017 Dollar Tree had 12 packs of cards.) A candy cane or Christmas pencil would be a nice touch taped to the card or even the back of the extra credit card if you decide to skip the Christmas card.

And viola! There you have a gift for all the little ones that come into your classroom...and you don't have to hide the bank statement from your hubby!


Tuesday, November 13, 2018

Thanksgiving Stuff(ing)

Thanksgiving is right around the corner! My classroom is decorated with fall garland and harvest window clings. I don't go too crazy since we only get a few measly weeks in between Halloween (which I really get into since it can last the entire month of October) and Christmas (we won't even talk about how decorated my class gets for Christmas!), but I do like to throw out some fall decor and projects. Go now and grab a couple of strands of garland & some window clings from Dollar Tree. Your front board will thank you for it. :)

Turkey Fractions {A Thanksgiving Unit about Fractions, Decimals, & Percents}As far as day-to-day classroom activities, my Thanksgiving centers are out and ready to go. By far, my favorite is this equivalent fractions center my kids are working on this week. But, it does require some prep work.

If you're just trying to survive and cant think about prepping a new center, I've also got my Thanksgiving game boards - just add your own task cards. I use both the game boards & the (freebie) tic-tac-toe games with task cards so I can have my students practicing whatever skill they need while they get a seasonal theme added to their centers.

Thanksgiving {Game Boards}   Tic-Tac-Toe {FREEBIE}

And, if you have any of my Math Ladders, you really should grab the Fall & Thanksgiving Math Ladder boards. After all, they're FREE! You can't beat that price. :)

Game Board: Autumn {Math Ladders}    Game Board: Thanksgiving {Math Ladders}

Image result for charlie brown thanksgiving So, that takes care of my centers. But, what about the last day before Thanksgiving break. My 4th grade is departmentalized and so we don't really have a lot of time. But, I do try to sneak in the Charlie Brown Thanksgiving movie. I like to have pumpkin bread (either make it ahead of time or in the classroom - depending on time) and have the students make butter. It's not a huge party (we did just finish Halloween & Christmas is around the corner), but it's a nice break in the afternoon.

Oh, and that last hour of the day? I'm completely guilty of getting out the Christmas tree!!! The kids love helping me decorate (and, I'll be honest, I love that I don't have to do it myself). It makes the room cheerful to come back to after our break and is one more thing to enjoy/not stress about during the month of December.


Tuesday, October 2, 2018

Sound Vocabulary with Harry Potter

Our unit on sound energy always seems to land right around October. And, one of my favorite ways to introduce this unit is to break out one of the BEST scores ever composed - Harry Potter's Prologue.

To do this, I use TwistedWave Online Audio's browser based program that allows me to play any mp3 file on my computer and view the sound wave at the same time. (It's free.) I like that the yellow bar scrolls with the music allowing the students to see the frequency & amplitude and anticipate what will happen with the volume and pitch. This leads us to some great discussions and drawings on the board to label the parts of the song in its entirety.

Then, we define the vocabulary needed for fourth grade. Click here to get an interactive notebook freebie for the vocabulary. 


Sunday, August 19, 2018

Back to School Sale: Part II

I guess TPT figured those that don't start school until September missed out on the sale a couple weeks ago....so, they're throwing another one! Good news for us! :) I know that there are a few people on my campus that have their eyes on high-dollar products since they've changed grade levels or subjects and they'll be snagging these on Tuesday.

If you're still sitting by the pool sipping a lemonade (or something stronger), I'm very jealous. But, I'll think of you next May when I'm by MY pool sipping MY lemonade. ;)


Monday, July 30, 2018

Back to School SALE


Get those shopping carts ready!
It's almost time for TPT's annual back to school sale!
Everything in my store, including bundles, will be 20% off.
Add TPT's code to save 25%.

Friday, July 27, 2018

Rock Cycle Model/Activity (NSTA)

When I first started teaching, the rock cycle was the chapter I dreaded the most - probably because my own education was lacking in that subject. Over the years, I've learned a good amount about the topic and it's come to be one of my more favorites. One thing that has really helped my students understand the types of rocks (as opposed to memorizing basic words), is an NSTA lesson I've modified. (Original lesson here: https://learningcenter.nsta.org/resource/?id=10.2505/4/sc13_050_08_38)

There's a lot to the lesson, other than the hands-on piece, so I really encourage you to look into it. But, the main thing that I put in my lessons is the actual making of a rock using crayons.

Sediments & Sedimentary Rock: We shave a crayon down using rulers and create piles of crayon slivers. The students fold them into a piece of foil (though, waxed paper would work just as well) and take turns standing on it. Some even start twisting like a ballerina on it. :) As long as they don't let the pieces of paper shift, it will stick together like a crumbly rock.


Metamorphic Rock: This is where I really different from what the online lessons suggest. They want you to put your sedimentary rock in a foil boat and hold it over hot/boiling water until it becomes soft, but not melted. Yeah. Tried that. It melts too fast. So, I took that sedimentary rock and put it in a folded sheet of waxed paper which I then placed in a folded sheet of construction paper. Using an iron on a low heat setting (with no steam), I ironed the rock. If you do it just right, the pieces fuse together, but don't actually melt. Let it cool and then the waxed paper can be pulled apart revealing a fairly sturdy, flat metamorphic rock with a marbled surface.


Igneous Rock: Now you can make your foil boat (or I saw someone suggest foil cupcake liners) and melt the rock in your boiling pot of water that the kids aren't allowed to touch or get near. I've always used the foil boats, but every year we end up with water leaking into their boats or boats that are a wadded up mess when they bring them to me. It's horrible. I think this year I'm going to go the easy way and pick up those cup cake liners.

And then the kids can draw everything the did. I actually have them do their diagrams & labeling of the diagrams while I'm working with another group's rock. All in all, I use about 3 days of class to do this activity - 1 day per rock. We do the hands on portion and then take notes in our notebooks about that rock. I saw grades dramatically improve the year I started doing this, with no other changes to my curriculum.


Thursday, June 21, 2018

Value of a Digit Sets 5.1-5.3 {Math Ladders BUNDLE}


BUNDLE: Value of a Digit -  Sets 5.1-5.3 {Math Ladders}
With the addition of Decimals, I've finally finished my Value of a Digit series. Set 5.1 (Value of a Digit Through the Thousands Period) is one that I use to introduce Math Ladders in my classroom within those first few weeks of school. It's a skill that most 4th graders should have mastered, so it's not too difficult. Yet, they also still need some practice.

Set 5.2 (Value of a Digit Through the Millions Period) is quickly added and then reviewed throughout the year. This skill is one my students seem to catch on to relatively easily, but then forget soon after. By  having this set pop up in their centers rotation I am able to ensure that they are constantly going back to review it.

Set 5.3 is one that I use after I introduce decimals and then keep adding into the rotation - for the same reason as Set 5.2!

Value of a Digit through Thousands Period -  Set 5.1 {Math Ladders}    Value of a Digit through Millions Period -  Set 5.2 {Math Ladders}     Value of a Digit - Decimals -  Set 5.3 {Math Ladders}

Or get them all for a discount...

BUNDLE: Value of a Digit -  Sets 5.1-5.3 {Math Ladders}

Friday, June 15, 2018

Math Centers/Small Group: Ordering Numbers {Math Ladders}

At the beginning of the year, as I'm introducing centers, I find myself needing something to fall back on that most of my students should be able to do with little support from me. Throughout the year, I also feel like they need to revisit place value just to keep it fresh in their minds and most of them also need to extend that learning.

This Math Ladder series was created to be used throughout the year in a 4th/5th grade classroom. I teach 4th and use the lower sets (2-digit numbers) to reteach comparing numbers to my level 1 students in small group and then move them on to independent practice during their independent center time.

The level 4 & 5 students start the year with a quick small group review of the Thousands Period set with me and then gradually move to the Millions Period set over the next few weeks/months during independent time.

Once I've introduced decimals, I move the whole class to the Decimals set, but only those that show proficiency move to the later Decimal ladders.

One thing I also use during small group instruction - and keep on hand in my classroom - is grid paper. There are so many uses for it, but I find that this really helps students when working on comparing numbers.

FREE!!!


Wednesday, June 13, 2018

Free Videos to Teach Science

My science block, on paper, is 45 minutes long. That includes changing classes, settling in, and cleaning up. With a bunch of 4th graders, you can imagine that we lose a bunch of time with transitions and lab clean up. 

One thing that I have found helps get them settled is to play a quick video clip at the beginning of class to introduce the topic I'm covering that day or review what we've already learned. I usually get everyone in the classroom, converse quickly with a teammate in the hallway about whatever is going on with the kids coming in or leaving my room (behavior issues, health issues, home life issues) and then make my way to the front of the room to the computer that has the video clip queued. At that point, most of my class is ready or close to being ready.

Sometimes I'll give them a quick introduction to what the video is about, but more often than not, I cover one benchmark over several days. In those cases, I use the video to review what we did yesterday and then deepen our understanding with labs/hand-on activities, notebooks, etc.

Scholastic Study Jams & Crash Course for Kids are two FREE websites with loads of science videos. (Study Jams also has math videos). And, of course, I have to mention Brain Pop. If you can get your school to pay for it - it's expensive- Brain Pop has videos covering nearly every topic in every subject. And, they have Brain Pop in Spanish & French - which was a life saver when I got a new student that didn't speak any English.

So, get your planner ready and start exploring. I personally like to get a list of my benchmarks out and then start penciling in video clips that go with each benchmark. If I have an extra 5 minutes at the end of class, I pull that list out and grab one of the clips that I wasn't planning on showing, but still goes with the curriculum.

That list is also a nice place to make a note of things you do NOT want to show in your classroom - certain topics like sexual reproduction in flowers (a FL benchmark) talking about sperm makes my boys giggle uncontrollably and is something I prefer to avoid, if possible. Though these are kid-friendly, I would highly suggest that you preview anything you bring into your classroom.


Brain Pop: If you are lucky enough to have a Brain Pop account, check out their Educator's Page. Did you know that you can pull up a list of your state's standards for any subject and they'll list all of the videos that go with each standard? The work is (mostly) done for you. Just print and start making your own notes.


Sunday, June 10, 2018

Animal Adaptations: Physical & Behavioral

Over the years as I've taught FL's SC.4.L.16.2 and SC.4.L.16.3 I've discovered that a chart really helps to sort everything out for my students. Below are two charts I've used (two different years) in the hopes of helping to organize my students' thinking. Some examples are driven by my students, but some things keep popping up on example tests, so migration, hibernation, and sea turtles are on both charts.


Saturday, June 2, 2018

CPALMS: Flower Dissection

In order to teach the benchmark related to sexual reproduction in flowers (oh yes, it's great fun to teach a bunch of 10 year olds about SC.4.L.16.1...) we dissect flowers in my classroom. I can't take credit for the entire lesson - that belongs to CPALM: Dissect It! This lesson is a really great one, but I've modified it to meet my own needs - as teachers do.

The first thing I do is start out with an introduction using the PowerPoint from the CPALMS website. Then, we dig into a flower - literally. I buy flowers from Publix and we cut them into shreds (we hate wasting the flowers, but hey...the classroom smells great by the end of the day!).

In previous years, I've explained everything to the students and then given them a variety of flowers depending on what was available from Publix at the time. What ensued was sometimes confusing...some flower parts are very obvious when being dissected, but for students that have never seen a stamen or pistil, things get confusing.

However, this year I managed to find several bouquets of Alstroemeria - which are very easy and predictable to dissect (with a little bit of research by the teacher). I especially liked that there were actual numbers the students could look for - 3 petals with stripes; 3 sepals (same color as the petals, but no stripes); and 6 stamen. Some of my kids found a "seventh" stamen, but then realized they were holding the pistil.

After finding and sorting out all the pieces, students wrote labels in their notebooks and then taped everything down. I encouraged them to go to town with the tape and really seal everything in. (Buy rolls of tape & dispensers at Dollar Tree for your groups...it's actually pretty decent stuff!)


The pictures below are of the same notebook page...

The day I did the science lab. Two months later...dried out & faded....and pollen grains have turned to powder on the stamen, but they're still sealed up.