
Teaching the properties of minerals is one of my favorite science lessons! It’s exciting to see students engage with real-world examples, and I’m lucky that it aligns perfectly with Florida’s 4th grade science standards. Even better, my 5th grade colleagues have asked me to focus on this topic as part of the Florida Science FCAT review, so I get the chance to dive deep into this fascinating subject. This post is part of a new series on my blog where I explore hands-on activities for teaching the properties of minerals.
Hands-On Learning with Mineral Samples
To make this topic come alive, we dedicate an entire week to observing and testing mineral samples. The school provides a variety of samples, but I’ve added a few extras to ensure we have a diverse collection. Students get the opportunity to explore key properties like luster, hardness, streak, and more. However, one concept that consistently challenges them is studying the property of breakage, specifically how minerals break with either cleavage or fracture.
Cleavage vs. Fracture: A Memorable Lesson
To help clarify this tricky concept, I take the students outside for a special hands-on activity. Using 4oz hammers (use the Kids Workshop ones available from Lowes), they break apart pieces of calcite, which is readily available on Amazon and perfect for this lesson due to its predictable cleavage patterns. The excitement in the air is palpable as students take turns observing and participating in the process. Each student gets to keep a small piece of calcite, which makes the activity even more memorable.
During the activity, I emphasize safety, providing goggles to ensure everyone stays protected. As the students break apart the calcite, they see firsthand how it splits cleanly along flat planes—a classic example of cleavage. This direct observation helps them understand that minerals break in one of two ways: cleavage, which results in clean, flat planes, or fracture, which creates jagged, uneven breaks.
Sorting and Analyzing the Samples
After the outdoor portion, we head back to the classroom to analyze the pieces. Students sort their samples into two piles: those that show cleavage and those that exhibit fracture. This sorting activity reinforces their understanding of the two properties and allows them to work collaboratively to compare observations. By the end of the lesson, students have a solid grasp of how to differentiate between these two properties, and they’re able to explain their findings with confidence.
Why Calcite Works So Well
Calcite is an excellent mineral for this activity because of its predictable cleavage. It’s a soft mineral, making it easy to break with minimal effort, and its cleavage planes are clearly visible even to young learners. Additionally, having a tangible takeaway piece makes the experience more personal and engaging for the students.
Using Boom Cards for Review
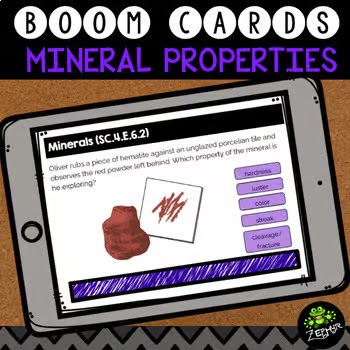
To further reinforce the concepts, consider using my Boom Cards to help students review the properties of minerals. These interactive, self-checking digital task cards are great for preteaching content, ensuring absent students stay on track, or providing extra practice for those who need it. They make learning engaging and accessible, whether in the classroom or at home.
Wrapping Up
This activity is always a highlight of our science lessons, and it’s one that students remember long after the unit ends.
For those looking to use the lesson, I’ve created sorting mats for the properties of minerals to help students categorize and analyze mineral samples even further. These mats can be a great addition to your classroom and are available for download below. By engaging in hands-on learning, they’re able to connect theoretical concepts to real-world examples, making the properties of minerals more than just a list of definitions. If you’re teaching this topic, I highly recommend trying this activity with your class—it’s fun, educational, and guaranteed to leave a lasting impression!


No comments:
Post a Comment