Monday, April 8, 2019

Survivor Themed Test Prep

If there's one thing I hate, it's test prep. But, if we have to do it, then I want to ENJOY it. And this method is pretty much stress free (after the first year) and my kids are begging for test prep days.

The premise of my classroom is simple: I've grouped my students using their last math data scores. Each group is given a tribe name and works together to earn points for their tribe through our Reward Challenges and Immunity Challenges. At the end of the class period, we hold a Tribal Council and one team is "voted off the island." (No one is actually kicked out of class - that would defeat the purpose of test prep!) The tribe with the most points at the end wins the prizes I've accumulated (stickers, fun erasers, coupons to restaurants, random toys, etc....all kept nice in a beach bucket from Dollar Tree).

Grouping Students: I'm extremely intentional about exactly who my students sit with. I rank my kids from highest to lowest (using more than one set of data). Then, since I have 5 table groups, I label the top five as High, the second five as High-Medium, then Low-Medium, then Low. If I have extras, I make my High-Medium group bigger. (These are the kids that need extra practice or they're going to fall in their test scores or the ones that are just "so close!")

Then I put together groups of High, High-Medium, Low-Medium, and Low so that the High and Low-Medium are sitting together and the High-Medium and Low are sitting together. I put the High student across from the High-Medium student so that the High-Medium can "overhear" how High explains things and use that to model how he/she explains things.

If I have to have 5 in a group, I put the extra High-Medium on the end by the High & High-Medium. This also keeps my lower students in the front for when I'm teaching.

High
High-Medium
Low-Medium
Low

So, what does a  day look like? I start each day with a Cram at Camp because it's group work and I can take care of whatever else needs my attention at the start of class. The kids are anxious to get into their Cram session because the more they study the better they do (and the reluctant learners are dragged in by the competitive ones!) We end with Tribal Council because...well....it's Tribal Council! Everything else can be mixed up in whatever way works. Sometimes, I don't do both Reward & Immunity Challenges in the same day (if we don't do Immunity Challenges, then no Tribal Council.)
  • Cram at Camp (10-15 minute sessions) - Students work within their groups to complete a packet of test questions. I simply print a booklet of questions out for each group and they work through them as a tribe. I stress to the kids that it's not about completing the entire book. It's about making sure that everyone in the group understands the problems they get through. I have the kids do a cram session as soon as they walk in (gets them settled in faster) and another one later in the day. They're doing 30 minutes of cramming, but breaking it up helps keep them focused. (I really like this Test Prep Series. Days 1-50/Days 51-100)
  • Zip Line Adventure (10 minutes) - A quick mini-lesson taught by the teacher. I do one a day and have all the skills mapped out before I start the unit based on what my kids need to review according to their data.
  • Reward Challenge - Game time! We play a game (see the games section below) as a class. 
    • I have one person from each group come to the front table where I have white boards ready. Each person on the tribe is assigned a number. All the 1s have the same ability, all the 2s are the same ability, etc so that my High students aren't competing against the Low students. If I have extras, my High-Mediums are in two groups. If I don't have enough for 5 in each tribe, the groups with 4 will have one student that comes up twice. I assign that spot to a student that really needs some extra practice.
    • I show the question on the doc cam, they solve it, first person to answer correctly gets the points. If they answer wrong, they have to go back to their seats. Some questions are multiple choice or multi-select (the format of our state test), so I do this to discourage randomly guessing. To  make the questions, I cut apart an old math book, pasted the word problems on index cards with the answers on the back.
    • At each table, the other kids have white boards and are solving the questions at the same time. If anyone is not working, I make a note and take points from the tribe. When they get done, they hold up their white boards and I give them quick feedback to let them know if they're right or wrong. If wrong, they try again.
    • Once we've got a winner, everyone is out, or they're just wasting too much time, we go over the question as a class.
    • At the end of the game, I record their points and put a count on the board of how many points each tribe has. (See the picture above.) The team with the most points gets 5 points on their totem pole. (I have 5 groups). The second place team gets 4, etc. If I have a tie, they tie for the highest point value.
    • Note: If someone is absent, their group has no one to compete for that round. This helps with attendance, but also keeps groups from always sending in the High kid as a substitute.
  • Tree Mail - I try to give the kids a quick idea of what the Immunity Challenge might focus on (NBT, NF, OA, MD, or G). This helps ensure that they're working through all different types of problems in their Cram at Camp sessions and not hanging out at the front of the booklet where the NBT questions are.
  • Jungle Trek - I've got to get some grades during test prep time, so I call our graded assignment time Jungle Trek. I'll give one assignment that should take no more than 10-15 minutes and when they're done they can go back to Cram at Camp.
  • Immunity Challenge - Game time again! The only difference is that at the end of this game the points are recorded on the board as [total points for the game] + [#of points for today's immunity challenge]. See the picture above. The group that wins immunity gets 5 points (circled in the above picture) and can't be voted for. I hang the funny tiki guy over their table (our Immunity Idol) and then we get ready for Tribal Council.
  • Tribal Council (10 minutes) - It's a wasted 10 minutes...I'll be honest. But, I'll gladly give up 10 minutes per day to keep everyone focused & engaged for the rest of the class period. I tear up a sheet of 12x18 construction paper into 5 slips and give each tribe a slip. As a tribe, they choose which tribe will lose all points from today's immunity challenge. Alliances form, alliances are broken. Drama ensues. It's great!!!! I tell the kids that what happens in the game, stays in the classroom. Breaking alliances is part of it. So, we show our votes, do a final tally for the day, and I send them to their next class.
Games - I try to keep the games something easy for me to set up. I only get (on paper) 10 minutes each day to prep for my classes, so I really don't want to spend hours prepping a game.
  • Jeopardy - I have a Jeopardy pocket chart that I slide cards into. Ahead of time, I had to assign point values and categories (NBT, NF, OA, MD, and G seemed like good categories) that I wrote on the back of the cards. Now, to set up Jeopardy, I grab the Ziplock labeled Jeopardy and pull out random cards. As we use the cards, I put them aside. For the next game, I add in cards only to the pockets needing to be replaced. (Or, if they solve all the questions for NBT 100 points, I leave that pocket empty.)
  • Turtle Egg Hunt - I bought these pool toys for my son when he was little and decided that opening a turtle egg to see how many points you earned was an easy game. You could always use Easter Eggs too.
  • Wibble Wobble Island (Pictured at Right) - I took an old Twister Mat and labeled each circle with a point value. For fun, I added some shark infested waters with negative points. :) They have to roll an Easter Egg (that has a marble inside of it) and get it to land on an island (any island - color doesn't matter). Those Easter Eggs go all over the place! If they roll off the map, negative or no points.
  • Build the Highest Tower - I found an old Bandu game at  Goodwill. (Any building blocks can work.) I put pieces under coconut halves (bought those at Dollar Tree) and the winner of each round chooses a coconut half and has to use the piece to make their tribe's tower. Tallest tower wins. Second tallest gets 4 pts, etc.
  • Beach Bucket Toss - I line up 3-5 beach buckets and assign points to them. (At least 1 has negative points.) Students choose an Easter Egg to represent the tribe they're earning (or losing) points for. For this one, they don't have to choose their own tribe color! So, it's possible for a team to be given negative points from another team.
  • Flying Monkey (Pictured Below) - I have a cute stuffed monkey and a mat labeled 1-10. You could just mark off the floor with painter's tape. They toss the monkey and however far he goes is how many points the tribe gets. I usually give negative points if he flies too far in order to discourage crazy throws!
  • Stinky Feet - I just found this game online last night and LOVE it. Prep time is minimal.

Setting Up the Island - My first year of doing this, I had a few inflatable palm trees that I paid top dollar for from our local party store. Then, at the end of our school year (May/June), I found that Dollar Tree had brought out all their summer party gear. I picked up tons of inflatable palm trees, monkeys, and parrots. I got the coconut shells (they're supposed to be for drinks) and tiki totem paper cut outs (that I hang over their desks). One thing I also picked up right away was the Survivor Soundtrack from Amazon. I love music and having the music in my room (even without tons of decor) brought the Survivor Island feel to the classroom.

Get the Files - My Google Drive - I've posted my version of the Survivor Logo, Tribe Signs, and Tiki Totem Poles for tracking points on my Google Drive. Feel free to download them and use them to survive your own test prep.


Monday, February 25, 2019

TPT Sale!

Get ready for another TPT sale! Save up to 25% on Tuesday & Wednesday of this week.


Sunday, January 20, 2019

Constellations & Earth's Movement


Space...the final frontier....and my original favorite topic to teach in Science! I say original because as I've learned more and more about the other things I teach, I enjoy those too. But, space will always hold a special place in my  heart. Star Trek: TOS is how my dad introduced me to that final frontier...and I'm the daughter he took to Kennedy Space Center because....well, because I actually stop to read each and every plaque - just like him. KSC is an amazing place to visit, if you ever get down here to FL.

Now, the one benchmark I found difficult to explain to my students at the beginning of my career was SC.4.E.5.1 - why constellations seem to move across the sky. I used the textbook for the first few years....just reading through it with the kids...but, of course they didn't really understand it and I had nothing in my "bag of tricks" to help explain it any better.

Then, I found this book. I love this book. It's got a ton of great resources in it (including a bunch of information about the Space Race that I used for an amazing Socratic Debate during my opinion writing unit). But, what really helped my science class was the constellations activity. Basically, you have 12 students hold the 12 constellations in a circle around a lamp. The rest of the class gets on the inside of the circle and pretend to be Earth. In this way, the students get the full understanding that the constellations on the other side of the Sun are still there, but since you have to face the Sun in order to face them, you can't see them because of the blinding light of our own star. Such a simple idea, but so powerful for my kids. I also incorporated the idea of making the kids figure out whether the Earth turns clockwise or counter-clockwise as they had to make the Sun rise in the east and set in the west. (Everything in this solar system - EXCEPT VENUS - rotates counter-clockwise. And Uranus....but that's a whole different story!) Now, if your kids are really good - or with some guidance - make them figure out how the Earth revolves around the Sun. (Counter-Clockwise) I have the month the constellations are most visible written on the back of them and someone inevitable finds theirs and realizes I've put them in order around the Sun...the constellations then start telling the Earths which direction they need to move to keep the calendar moving along in the right direction.

And then switch so all constellations get to be an Earth and vice versa.

This activity is great...but then I found something on CPALMS to add to our notebooks that solidified the lesson in the students' minds. (The whole lesson is great, but this one notebook activity is simply amazing - if you don't have time for anything else.)

The instructions say to draw 3 constellations (I chose 4 because it was easier to draw in the 4 corners of the page) on a sheet of black construction paper. We also drew a Sun in the center instead of cutting out Suns. Then, we drew an Earth on a small scrap of construction paper. We put a little man on the Earth so that we could spin him around and show day/night as well as his location in relation to the Sun. Everything was glued into our notebook and our little Earth Man lives in a pocket on the next page with the students' reflection.

A note about the crayons...I won those in a random Crayola contest several years back. The colors are not your normal Crayola colors (no true reds, blues, or greens!), but they are AMAZING when it comes to black paper. I save them for very specials occasions - mainly my unit on Space.


Saturday, December 29, 2018

Math Centers in My Room

I'm a firm believer in the power of independent math centers and a teacher-led small group - as long as the students are actually working, of course! There's the question of grading math centers (more accountability for students, but more work for teachers) or allowing them to grade (do they cheat??) or requiring nothing to be turned in at all (ikes!). I have tried to find a happy medium in my room that allows flexibility, accountability, and as little extra work for me as possible.


At the end of this post, you'll find a link to an Excel spreadsheet that I use for planning. I've set it up to be printed if you want to, but I never print it. It's a document I pull up on my computer & edit as I'm holding small group (taking attendance, making notes about skills needing to be revisited) and then I save it to our network for my administrators. On my regular plans, I note whether we held centers that day or if we did something different - whole class computer lab, graded assignment, extra lesson time, etc.

My Schedule

Everyone's math block looks a little different. Mine is 90 minutes (give or take). I have the students do their Daily Review and XtraMath (to practice fact fluency - it's free!) for about 15 minutes. We then review the Daily Math and move into our lesson (about 40 minutes). The rest of the class time is for centers or an assignment.

The reality of teaching is that we have to take grades. The last two weeks before Thanksgivings, I tried putting a graded assignment into my center rotation and it was a nightmare. I had no idea who had completed it (who needed extra time per their 504 or IEP), who was absent (since it was done over a 5 day period), and the kids that did it on the first day didn't get any sort of feedback for about a week. It didn't work.

And the stress on me to make sure we finished the lesson with enough time for students to complete their centers - one of which was a graded assignment??!?! Let's not even go there! After those two weeks, I gave up and didn't even try to attempt it between Thanksgiving & Christmas. (Getting really sick for over a week didn't help me teach at all either...)

In January, I'm going back to the schedule I put into place three years ago when my son broke his leg. I missed 1-3 days of school each week over an 8 week period. At that time, it was impossible to leave centers for a sub (can we spell play time???). Instead, I made up a rotation and if we got to centers that day - great! If not, no big deal. We'll do the next day's centers when we got to it. This allowed me to extend a lesson if I needed to and skip centers; all students did assignments on the same day; and if I had a sub, I didn't panic about trying to write up what each center was supposed to be doing. Not to mention, it didn't phase me when we had a 4 day work week, a field trip, or a random assembly. No centers? No problem!

It works for me. Will it work for every teacher? Probably not. We're all different. For me, though, I needed less stress and taking away the requirement that I get to centers every day for x number of minutes was what I needed!

Planning Centers

When planning centers, I keep it as simple as possible. There's the teacher-led small group, a computer station, and seat work.

Teacher-Led Small Group: I use data to determine what skills my students need to work on. Then, I'll either group students using that data or pull whatever students I need that day from their center. Either way works as long as you're not taking actual grades on the centers. For the curriculum, I may invent my own from time-to-time, but more often I'll use the reteach lessons in my textbook or the lessons our computer software gives us (iReady is the software we use). Slight changes are always needed, of course, but it gives me a starting point without reinventing the wheel. Students keep all work we do in their Math notebooks. Sometimes, I'll assign a homework sheet from CommonCoreSheets and then pull those students to review the work the next center day before I pull my small group for that day. (That website is amazing, by the way. It's completely free and has worksheets for pretty much every Common Core math standard. And, each worksheet has about 10 different variations. So, if a kid struggles on the assignment, reteach it and reassess it using a different worksheet. Oh, and the worksheets are designed so that you can lay them out about and grade about a half dozen at a time. MAJOR time saver!)

Computer Station: My students work on a computer program called iReady. They have their user names & passwords in their notebooks (or memorized) and log in by themselves. They record their work & test scores in their notebooks. When they come to small group, I do a quick check in with them to see if there is anything they're struggling with. If so, I can do a mini-lesson there or pull them when I finish with the small group. We also have an incentive system built around iReady so that they're rewarded after they pass so many lessons.

Seat Work: My seat work stations are always something familiar so that there is no learning curve. I like to use Math Ladders or Games that use Task Cards. Once I teach students how to do these centers, I switch out the skill. They're then constantly changing the skill being practiced, but not learning how to play a new game. I find this to be a lot more beneficial than the store-bought games that focus on one skill (or a bunch of random skills, including ones I haven't taught). The store-bought games require me to spend a lot more money and the kids spend more of their center time reading the directions rather than playing the game. If I do happen to throw a game in that's not a regular (my Go Fish games are popular), then I try to keep it for at least two weeks so they can learn the style of game and then have real practice time with it.

Grading Centers

I've gone between everything from grading all centers, choose a center to grade, and grading none. The challenge I have with grading centers is what to do when students are absent or pulled for small group instruction. Make up work is not possible because we change classes. There is literally no extra time in my students' days for make up work.

This year, I'm having students keep their work in their Math Notebooks. If I know of a student that is chronically off task, I can conference with him/her about the math work when I finish early with a small group. I've also put the students in groups and am awarding points to each group when I see them on task or deducting points when they're off task. Fourth graders are very competitive and these points equal tickets to them to use in our book raffle. (See my other post about the book raffle for a cheap incentive for students!)


Free Download

Click the picture below to download my Excel Planning file from my Google Drive.


Saturday, December 8, 2018

Christmas Gifts for Co-Workers

I always want to give my co-workers a little something at this time of year, but both time and money are tight - as is true for a lot of teachers. I've come up with a few solutions over the years that my teammates love and even look forward to.

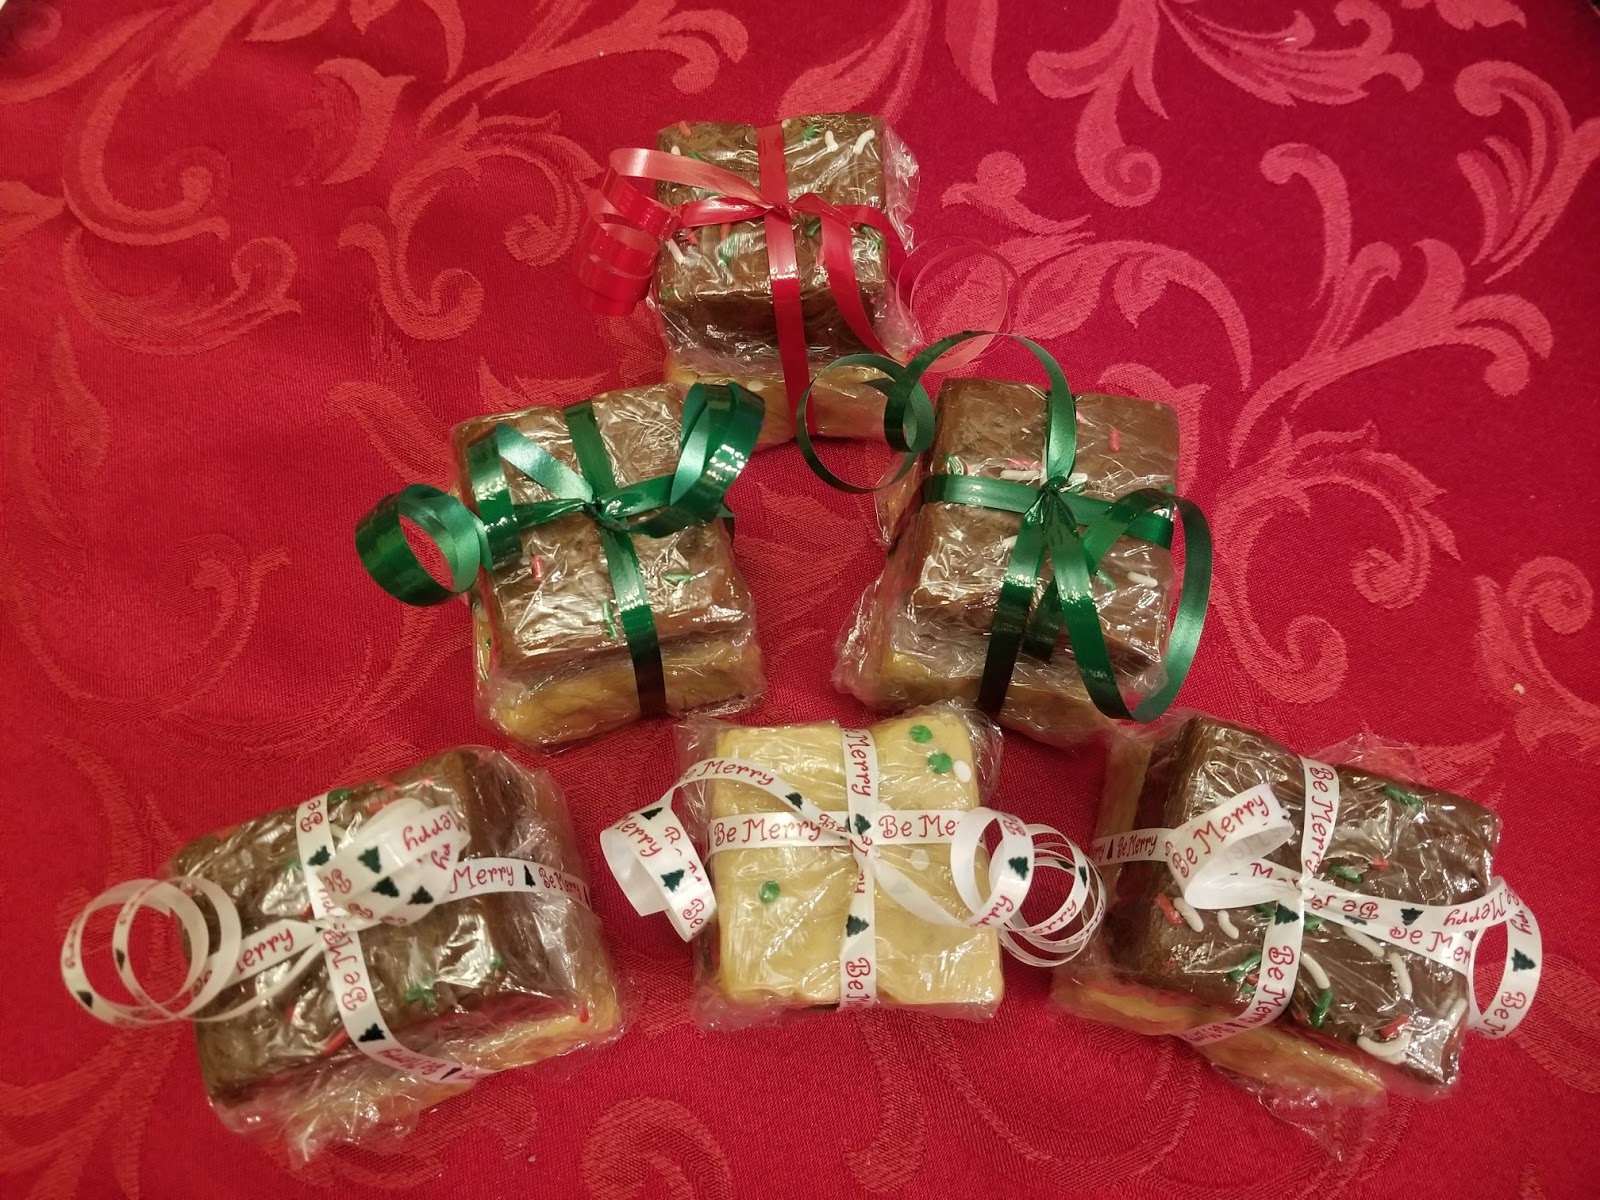
Fudge - hands down, a favorite of theirs (and it's gluten free). I've heard that fudge can be difficult, but Kraft's Fantasy Fudge recipe has yet to fail me. My little secret? Double the recipe & pour it into a 9x13 foil-lined pan. The fudge turns out roughly an inch thick. I cut it into 24 squares and give each person two huge pieces of fudge that look like they came straight from an over-priced candy shop on Main Street USA. ºoº

Kraft's Recipe (Already Doubled For Your Convienence)
6 cups white sugar
1 1/2 cups butter (3 sticks - softened or not...doesn't really matter)
1 1/3 cups evaporated milk (I just use 2 small cans. Do NOT use sweetened condensed milk.)
24 oz of "fun stuff"* - more on this later
2 (7 oz) jars of marshmallow cream
1 cup chopped walnuts (I always omit these since some people - ME! - don't like nuts in their fudge.)
2 tsp vanilla extract**
festive sprinkles

Line a 9x13 pan with foil making sure to really press it into the corners. This will ensure that the corner pieces look decent and can be used for gifting. (Or you can plan on cutting a bit off all the way around and "testing" your fudge to make sure it's good to gift!)

Mix sugar, butter, and evaporated milk in a large, heavy saucepan over medium heat, stirring constantly. Bring to a full boil. Boil for 3 more minutes while stirring constantly. This is crucial. You must boil the full amount of time. As I start to think mine is boiling, I glance at the clock. Usually, it takes another 45 seconds or so to really get boiling. So, I probably boil mine for 3-4 minutes. Allrecipes.com says 5 minutes....haven't tried that, but as long as you're stirring constantly it should be fine.

Remove pan from heat & stir in the "fun stuff"* and marshmallow cream until everything is melted and smooth. (If using a chip, stir a little extra to really make sure they've all melted. One year I didn't...I had tiny bits of chocolate chips in my fudge. Co-workers actually loved that batch...) Add the vanilla extract last.

Pour into the foiled pan and immediately add some sprinkles to make it look festive. Let it cool completely. Then, lift the whole pieces of foil out of the pan, set it on a large, flat surface, and cut it into 24 huge squares with a pizza slicer. Wrap in plastic wrap and tie 2 together with a nice bit of ribbon.

*The "Fun Stuff"....Kraft says to use chocolate chips. Two 12 oz bags will do it. I say...mix it up! One of my best recipes uses peanut butter. I replace the chocolate chips with about 3 cups of peanut butter. The only thing to be careful of here is that chocolate chips are hard and peanut butter is very gooey - which is why I don't put in 4 cups. This fudge will turn out softer than regular fudge, but it's my favorite!

*Fun Stuff to Try: any type of chip (chocolate, butterscotch, white chocolate, etc.); 3 cups of peanut butter; white chocolate chips with a couple of tablespoons of ginger (gingerbread fudge); white chocolate chips with peppermint extract (replaces the vanilla) & crushed candy canes. I also like to do a regular batch of peanut butter fudge and then add a thin layer of chocolate fudge on top. The possibilities are endless!

**Vanilla extract can be replaced with any type of extract. I like to mix it up with peppermint and make candy-cane fudge for at least one batch each Christmas. Hmmm....I wonder how orange or raspberry extract would go with chocolate....


Sugar Scrub - I needed this for a diabetic co-workers. My fudge was definitely out. But, we both got to enjoy this scrub since it made so much!

Mix together: a good coconut oil & white sugar. I started with about 1 cup of sugar and then added tablespoons of coconut oil until I got the texture I wanted. Add a couple drops of essential oil. I used lavender...what teacher doesn't need to relax right around Christmas with our high-stakes tests right around the corner??

Dollar Tree had small jars I put the scrub in and then dropped it into a nice little gift bag. Done!! And, these could be done over Thanksgiving break giving you a head start on your gifts.


Dry Rubs - My hubby LOVES his grill and cooking out for us - we live in FL where we can use the grill almost year-round - and some of these dry rubs are our favorites. They would make a nice gift for the man on your team that isn't into sweets or girlie-bath stuff. Scroll down her page just a few inches to find a visual recipe graphic you can save to your hard drive.  10 Dry Rub Recipes to Up Your Barbecue Game


Saturday, November 24, 2018

Inexpensive Christmas Gift for Students - Extra Credit!

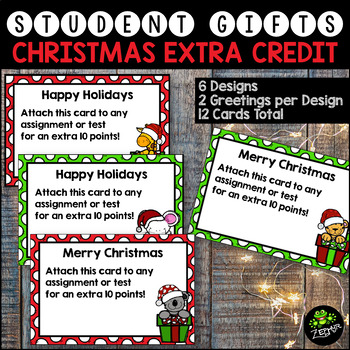
Christmas Extra Credit CardsAt my school, our fourth grade is departmentalized...which means I have 100+ students. I love being able to focus on just a couple of subjects, but when it comes to Christmastime - my favorite time of the year - my heart wants to give each student a little something,....but my bank account (and husband) balk at the idea of how much I would have to spend. So, I had to come up with an alternative.

All students love extra credit. So, I created these little guys to print out for my students. It's easy, inexpensive, and they love it. I like to print on card stock (in color) and then slip them into cards from the Dollar Tree. (In 2017 Dollar Tree had 12 packs of cards.) A candy cane or Christmas pencil would be a nice touch taped to the card or even the back of the extra credit card if you decide to skip the Christmas card.

And viola! There you have a gift for all the little ones that come into your classroom...and you don't have to hide the bank statement from your hubby!


Tuesday, November 13, 2018

Thanksgiving Stuff(ing)

Thanksgiving is right around the corner! My classroom is decorated with fall garland and harvest window clings. I don't go too crazy since we only get a few measly weeks in between Halloween (which I really get into since it can last the entire month of October) and Christmas (we won't even talk about how decorated my class gets for Christmas!), but I do like to throw out some fall decor and projects. Go now and grab a couple of strands of garland & some window clings from Dollar Tree. Your front board will thank you for it. :)

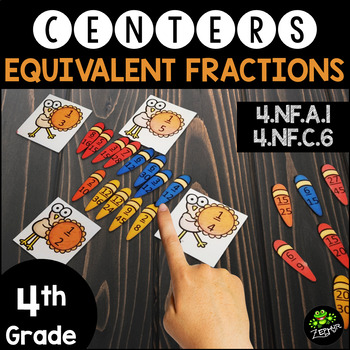
Turkey Fractions {A Thanksgiving Unit about Fractions, Decimals, & Percents}As far as day-to-day classroom activities, my Thanksgiving centers are out and ready to go. By far, my favorite is this equivalent fractions center my kids are working on this week. But, it does require some prep work.

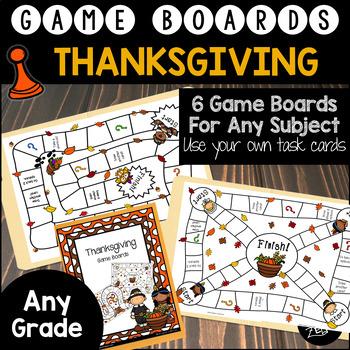
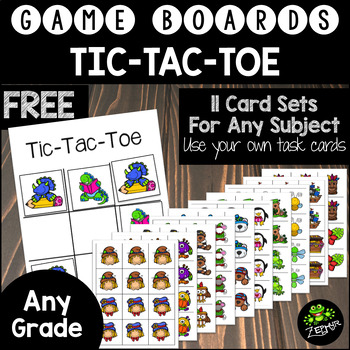
If you're just trying to survive and cant think about prepping a new center, I've also got my Thanksgiving game boards - just add your own task cards. I use both the game boards & the (freebie) tic-tac-toe games with task cards so I can have my students practicing whatever skill they need while they get a seasonal theme added to their centers.

Thanksgiving {Game Boards}   Tic-Tac-Toe {FREEBIE}

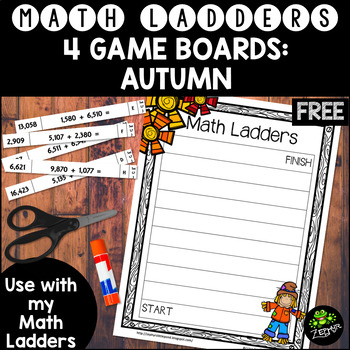
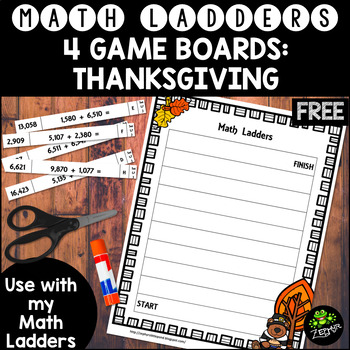
And, if you have any of my Math Ladders, you really should grab the Fall & Thanksgiving Math Ladder boards. After all, they're FREE! You can't beat that price. :)

Game Board: Autumn {Math Ladders}    Game Board: Thanksgiving {Math Ladders}

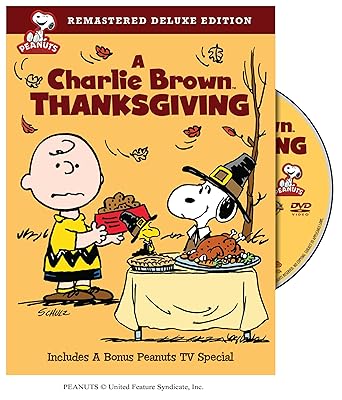
Image result for charlie brown thanksgiving So, that takes care of my centers. But, what about the last day before Thanksgiving break. My 4th grade is departmentalized and so we don't really have a lot of time. But, I do try to sneak in the Charlie Brown Thanksgiving movie. I like to have pumpkin bread (either make it ahead of time or in the classroom - depending on time) and have the students make butter. It's not a huge party (we did just finish Halloween & Christmas is around the corner), but it's a nice break in the afternoon.

Oh, and that last hour of the day? I'm completely guilty of getting out the Christmas tree!!! The kids love helping me decorate (and, I'll be honest, I love that I don't have to do it myself). It makes the room cheerful to come back to after our break and is one more thing to enjoy/not stress about during the month of December.